Frequently Asked Questions

Need assistance with your AFF account or navigating the website?
See answers to Frequently Asked Questions (FAQs) below.
Not at all. You can become an AFF member for free and join the discussion anytime. Click here to join with our Basic membership for free.
Yes, Australian Frequent Flyer has a number of memberships available to change to at any time. We have a Basic membership you can join for free and can always downgrade to. Silver, Gold and Platinum upgrades are recurring subscriptions each membership year. Click here to see our different memberships and benefits.
If you want to change or cancel your membership, you can do so through our payment platform.
We use Stripe as our preferred payment platform to handle subscription payments.
- Click on the following link to navigate to your Stripe account: Stripe Login
- Enter your email and press send.
- An email will be sent to your email address with a link that is active for 30 min.
- Open the email and press the blue log in button.
- Once you are logged in, you will be taken to your Stripe dashboard.
- On the left-hand side of the dashboard, look for “Billing” and click on it. A dropdown menu will appear.
- From the dropdown menu, select “Subscriptions”.
- You will now see a list of all your active subscriptions.
- Find the subscription you wish to cancel and click on it to open the subscription details.
- Once inside the subscription details, look for the “Cancel Subscription” button usually located at the bottom of the page.
- A confirmation popup will appear. Confirm that you want to cancel the subscription by clicking on “Yes, cancel”.
- Stripe will confirm that your subscription has been cancelled. You should also receive an email confirmation of the cancellation.
We still have some members on legacy Paypal payments. For those members please follow the below steps.
Note that any upgrades and new memberships will go through the Stipe platform.
- First, visit the PayPal website by typing www.paypal.com in your web browser or by clicking here.
- Click on the ‘Log In’ button in the top right corner of the homepage.
- Enter your login credentials (email and password) to access your account. If you don’t have an account, you’ll need to create one by clicking on the “Sign Up” button.
- Once you’re logged in, you’ll see your account dashboard. From here, find and click on the ‘Settings’ icon (a gear-shaped symbol) in the top right corner of the page.
- A dropdown menu will appear. From this menu, click on ‘Payments’.
- On the ‘Payments’ page, you will see a section labeled ‘Automatic payments’. Click on the ‘Manage automatic payments’ button.
- Now you will see a list of all your active automatic payments. Find the one you wish to cancel and click on it.
- You will be taken to the ‘Subscription Details’ page. Look for the ‘Status’ section, and under it, find and click on the ‘Cancel’ button.
- A confirmation popup will appear asking if you are sure you want to cancel the automatic payment. Click ‘Yes’ to confirm the cancellation.
- PayPal will confirm the cancellation and you will no longer be billed for this automatic payment. An email confirmation should also be sent to your registered email address.
The AFF community rules are called the Terms of Service (ToS) and can be found here.
Notwithstanding the Rules listed above, these 4 Guidelines are a simple reminder of what is NOT PERMITTED on AFF:
- Using AFF for commercial purposes
- Posting obscene or offensive content
- Political/attacking/bullying/threatening and being disrespectful of other members
- Discussing Moderator actions
As your post count increases (excluding posts made in the General Off Topic Discussion forum), your user title – displayed under your avatar – will change. This page provides a summary of how many posts are required to get to the next user title, as well as noting additional privileges that can be gained along the way.
It is worth noting that post padding just to gain a higher user title is against the rules and can result in posts being deleted with warnings, infractions or suspensions being given.
| Minimum Posts | User Title |
| 0 | Newbie |
| 10 | Junior Member |
| 50 | Intern |
| 100 | Member |
| 500 | Active Member |
| 1,000 | Established Member |
| 5,000 | Senior Member |
| 10,000 | Enthusiast |
| 25,000 | Veteran Member |
| 50,000 | Experienced Member |
| 75,000 | Legendary Member |
Additional Privileges based on Membership Duration and Reputation (Trophies)
After achieving at least 3 post reactions you also gain the ability to post in the Referral Offers forum.
Companies that have elected to participate on AFF in an official capacity can easily be identified by the inclusion of a “Verified Company Rep” banner which appears under their AFF user name in all their posts.
To become a Verified Company Representative, please start a conversation with admin or support. If appropriate, we will verify and apply the “Verified Company Representative” status to your profile.
Please note that, like any other AFF member, Verified Company Representatives are under no obligation to respond to posts or messages. However, constructive contributions to the forum are welcome.
| Image | Title | Text |
|---|---|---|
|
Smile
|
:) :-) (: |
|
|
Wink
|
;) |
|
| 🙁 |
Frown
|
:( |
|
Mad
|
:mad: >:( :@ |
|
| 😕 |
Confused
|
:confused: |
|
Cool
|
:cool: 8-) |
|
| 😛 |
Stick Out Tongue
|
:p :P :-p :-P |
|
Big Grin
|
:D :lol: |
|
|
Eek!
|
:eek: :o |
|
|
Oops!
|
:oops: |
|
| 🙄 |
Roll Eyes
|
:rolleyes: |
| 😵💫 |
Er… what?
|
o_O O_o o.O O.o |
Question Threads was introduced to assist our members in identifying threads that are open questions and threads that have subsequently been answered.
By setting the thread prefix to “Question”, our members can easily identify and respond to open questions. The system works as follows:
- A member navigates to the forum most appropriate to their post.
- They click the Post New Thread button to start a new thread.
- They choose the appropriate prefix (such as Question if their thread is a question).
- The Thread Title and Content are added.
- The question is submitted by clicking the Create Thread button.
Moderators can adjust the thread prefix as required. For example, if the thread has been answered, a Moderator will change the prefix to Answered. You can assist Moderators in this task by reporting threads that have been satisfactorily answered. Note that changing the thread prefix has no bearing on whether or not you can reply to the thread – so even if the status has changed to “Answered”, you can still reply to the thread if it is open.
[B], [I], [U], [S] – Bold, italics, underline, and strike-through
- Example:
- This is [B]bold[/B] text.
This is [I]italic[/I] text.
This is [U]underlined[/U] text.
This is [S]struck-through[/S] text.
- Output:
-
This is bold text.
This is italic text.
This is underlined text.
This isstruck-throughtext.
[COLOR=color], [FONT=name], [SIZE=size] – Text Color, Font, and Size
- Example:
- This is [COLOR=red]red[/COLOR] and [COLOR=#0000cc]blue[/COLOR] text.
This is [FONT=Courier New]Courier New[/FONT] text.
This is [SIZE=1]small[/SIZE] and [SIZE=7]big[/SIZE] text.
- Output:
-
This is red and blue text.
This is Courier New text.
This is small and big text.
[URL], [EMAIL] – Linking
- Example:
- [URL]https://www.example.com[/URL]
[EMAIL]example@example.com[/EMAIL]
- Output:
[URL=link], [EMAIL=address] – Linking (Advanced)
- Example:
- [URL=https://www.example.com]Go to example.com[/URL]
[EMAIL=example@example.com]Email me[/EMAIL]
- Output:
[USER=ID] – Profile Linking
- Example:
- [USER=1]Username[/USER]
- Output:
[IMG] – Image
- Example:
- [IMG]https://www.australianfrequentflyer.com.au/community/data/assets/logo/AFF-logo-dark-367by77.png[/IMG]
- Output:
-

[MEDIA=site] – Embedded Media
Approved sites: Apple Music, Dailymotion, Facebook, Flickr, Giphy, Imgur, Instagram, Pinterest, Reddit, SoundCloud, Spotify, TikTok, Tumblr, Twitch, Twitter, Vimeo, YouTube
- Example:
- [MEDIA=youtube]kQ0Eo1UccEE[/MEDIA]
- Output:
- An embedded YouTube player would appear here.
[LIST] – Lists
- Example:
- [LIST]
[*]Bullet 1
[*]Bullet 2
[/LIST]
[LIST=1]
[*]Entry 1
[*]Entry 2
[/LIST]
- Output:
-
- Bullet 1
- Bullet 2
- Entry 1
- Entry 2
[LEFT], [CENTER], [RIGHT] – Text alignment
- Example:
- [LEFT]Left-aligned[/LEFT]
[CENTER]Center-aligned[/CENTER]
[RIGHT]Right-aligned[/RIGHT]
- Output:
-
Left-alignedCenter-alignedRight-aligned
[QUOTE] – Quoted text
- Example:
- [QUOTE]Quoted text[/QUOTE]
[QUOTE=A person]Something they said[/QUOTE]
- Output:
-
A person said:
[SPOILER] – Text containing spoilers
- Example:
- [SPOILER]Simple spoiler[/SPOILER]
[SPOILER=Spoiler Title]Spoiler with a title[/SPOILER]
- Output:
-
[ISPOILER] – Inline text containing spoilers
- Example:
- You have to click the following [ISPOILER]word[/ISPOILER] to see the content.
- Output:
-
You have to click the following word to see the content.
[CODE] – Programming code display
- Example:
- General code:
[CODE]General
code[/CODE]Rich code:
[CODE=rich][COLOR=red]Rich[/COLOR]
code[/CODE]PHP code:
[CODE=php]echo $hello . ‘ world’;[/CODE]JS code:
[CODE=javascript]var hello = ‘world’;[/CODE]
- Output:
-
General code:
Code:General codeRich code:
Rich (BB code):Rich codePHP code:
PHP:echo $hello . ' world';JS code:
JavaScript:var hello = 'world';
[ICODE] – Inline programming code display
- Example:
- Inline code sections [ICODE]are a convenient way[/ICODE] of displaying code inline.
Rich formatting within inline code sections [ICODE=rich]is [COLOR=red]also[/COLOR] [U]supported[/U][/ICODE].
- Output:
-
Inline code sections
are a convenient wayof displaying code inline.Rich formatting within inline code sections
is also supported.
[INDENT] – Text indent
- Example:
- Regular text
[INDENT]Indented text[/INDENT]
[INDENT=2]More indented[/INDENT]
- Output:
-
Regular text
Indented textMore indented
[TABLE] – Tables
- Example:
- [TABLE]
[TR]
[TH]Header 1[/TH]
[TH]Header 2[/TH]
[/TR]
[TR]
[TD]Content 1[/TD]
[TD]Content 2[/TD]
[/TR]
[/TABLE]
- Output:
-
Header 1 Header 2 Content 1 Content 2
[HEADING=level] – Headings levels 1 to 3
- Example:
- [HEADING=1]Major heading[/HEADING]
This text comes under a major heading, used to separate the primary sections of an article.[HEADING=2]Minor heading[/HEADING]
When you need to subdivide the primary sections of an article, use a level 2 minor heading.[HEADING=3]Subheading[/HEADING]
If you require additional subdivision, you may drop to level 3.
[PLAIN] – Plain text
- Example:
- [PLAIN]This is not [B]bold[/B] text.[/PLAIN]
- Output:
-
This is not [B]bold[/B] text.
[ATTACH] – Attachment insertion
- Example:
- Thumbnail: [ATTACH]123[/ATTACH]
Full size: [ATTACH=full]123[/ATTACH]
- Output:
- The contents of the attachments would appear here.
[HIGHLIGHT] [HIGHLIGHT=option] – Highlight
- Example:
- [HIGHLIGHT=yellow]This is a yellow background[/HIGHLIGHT]
- Output:
-
This is a yellow background
[HR] – HR
- Example:
- Line 1
[hr]
Line 2
- Output:
-
Line 1
Yes – see our list of AFF abbreviations and explanations.
Our Member Lounge page contains information about the benefits you’re entitled to with your AFF membership level.
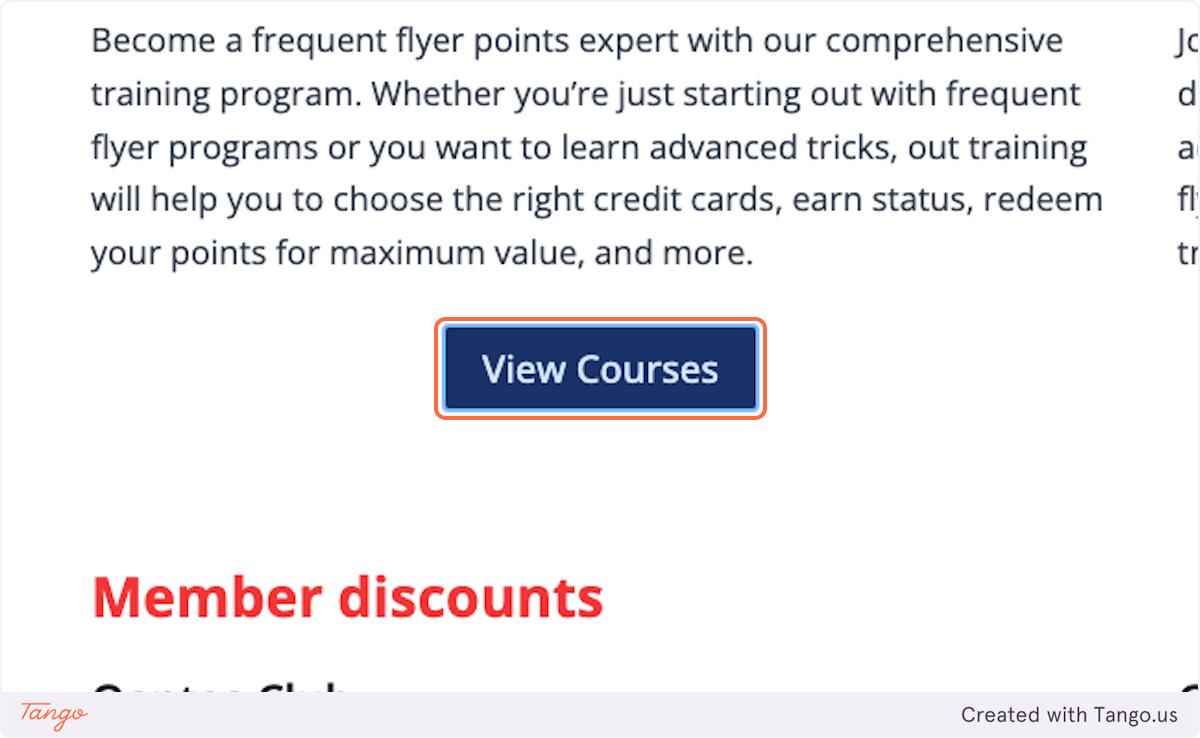
1. Go to the AFF Member Lounge
2. Click on View Courses
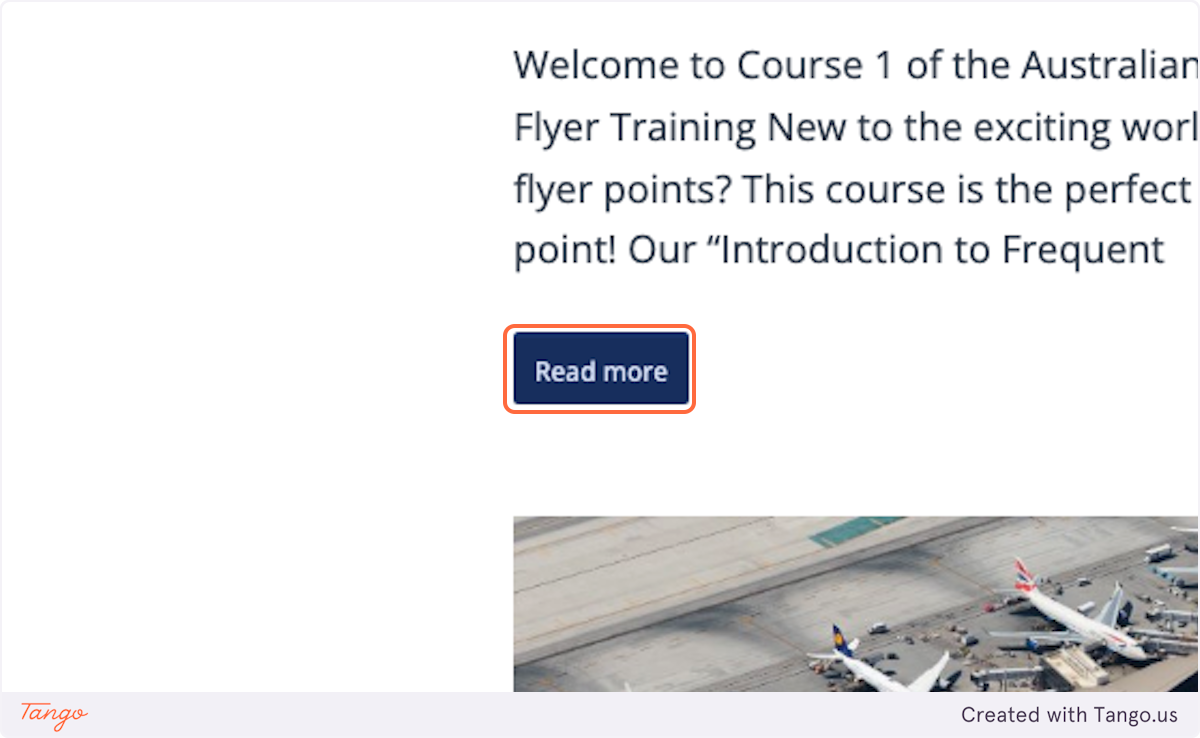
3. Find the course you want to view and click on Read more
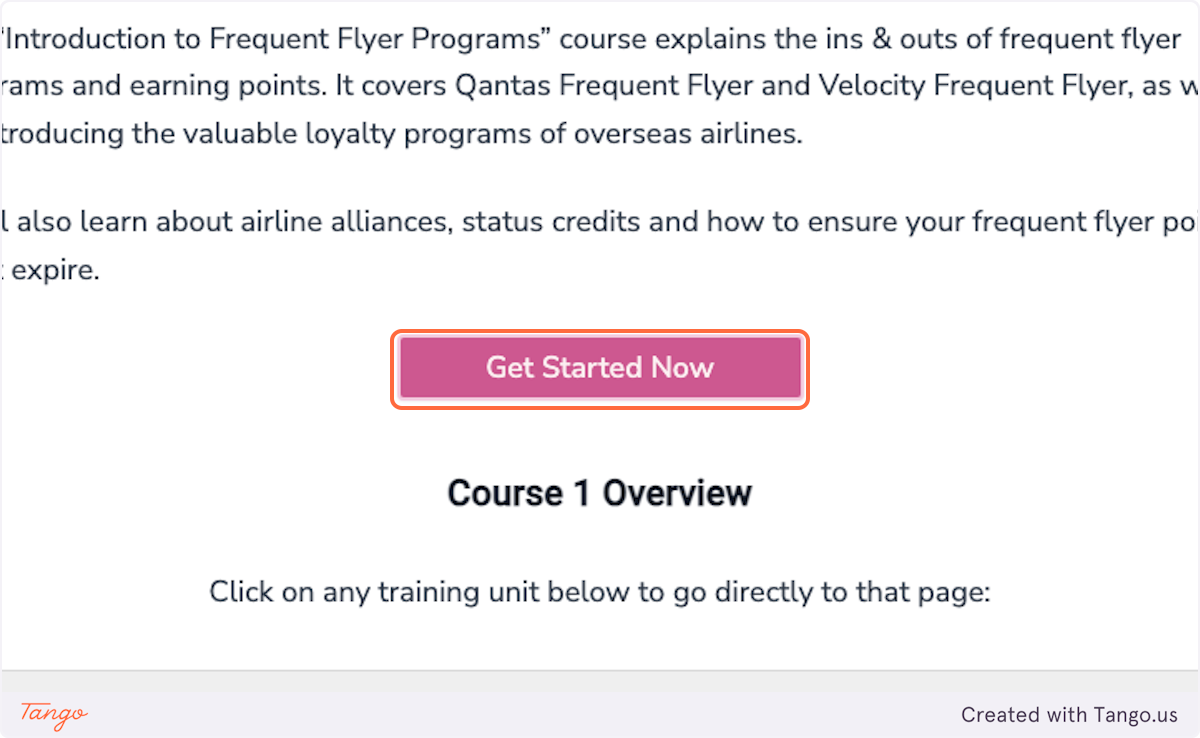
4. Click on Get Started Now
Start in the Australian Frequent Flyer homepage
1. Click on Member Lounge
2. Click on Learn more
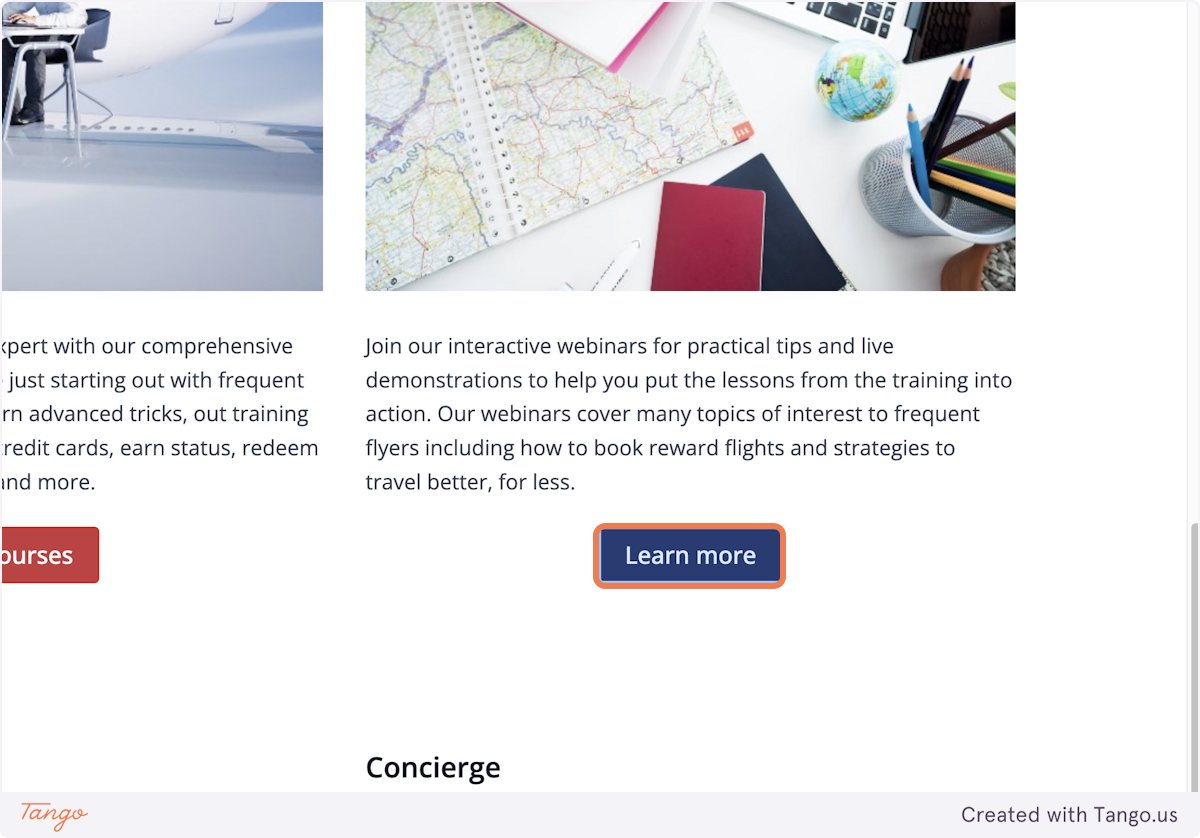
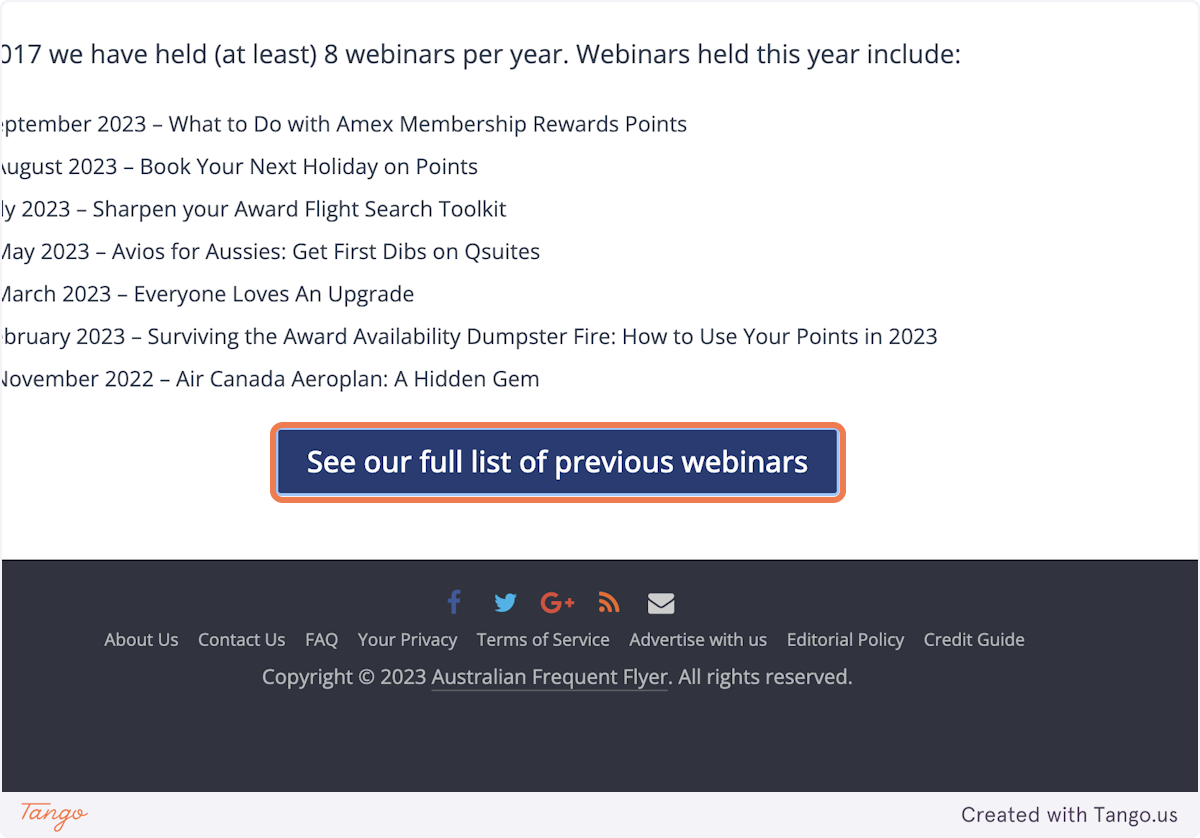
3. Click on See our full list of previous webinars
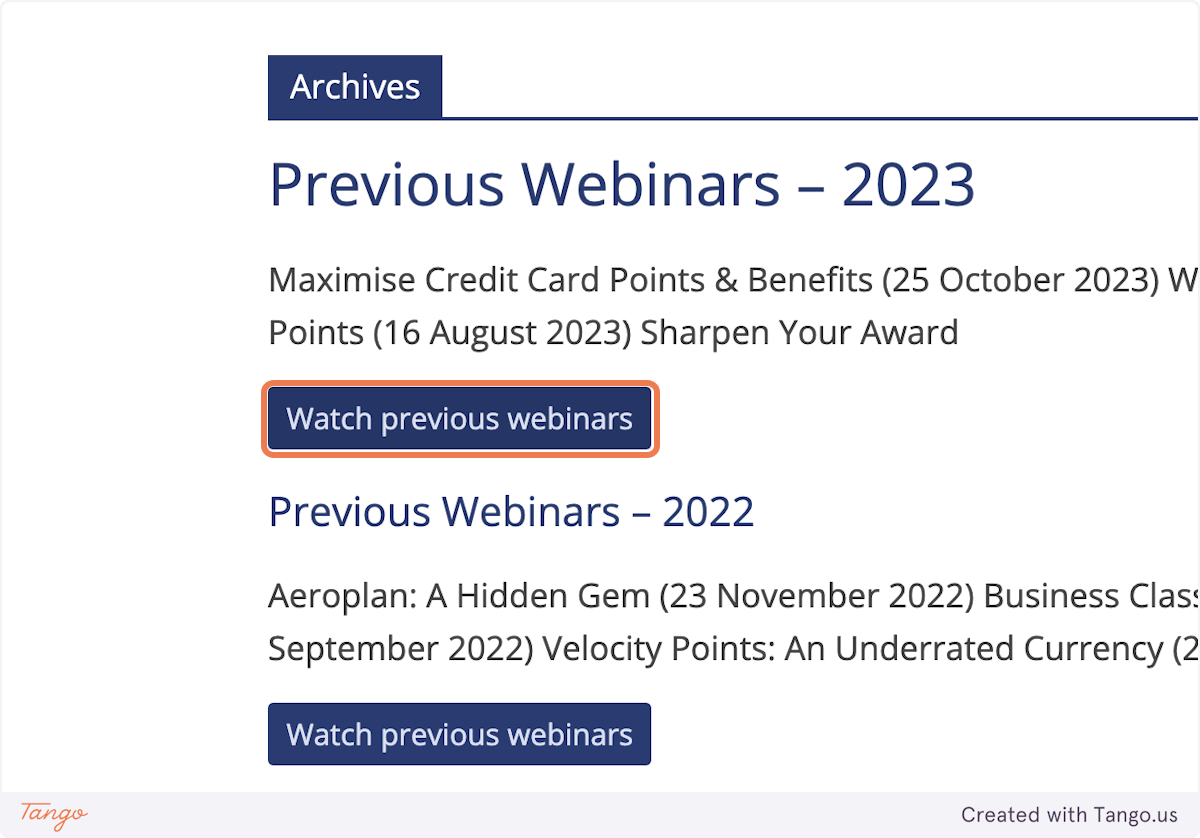
4. Click on Watch previous webinars
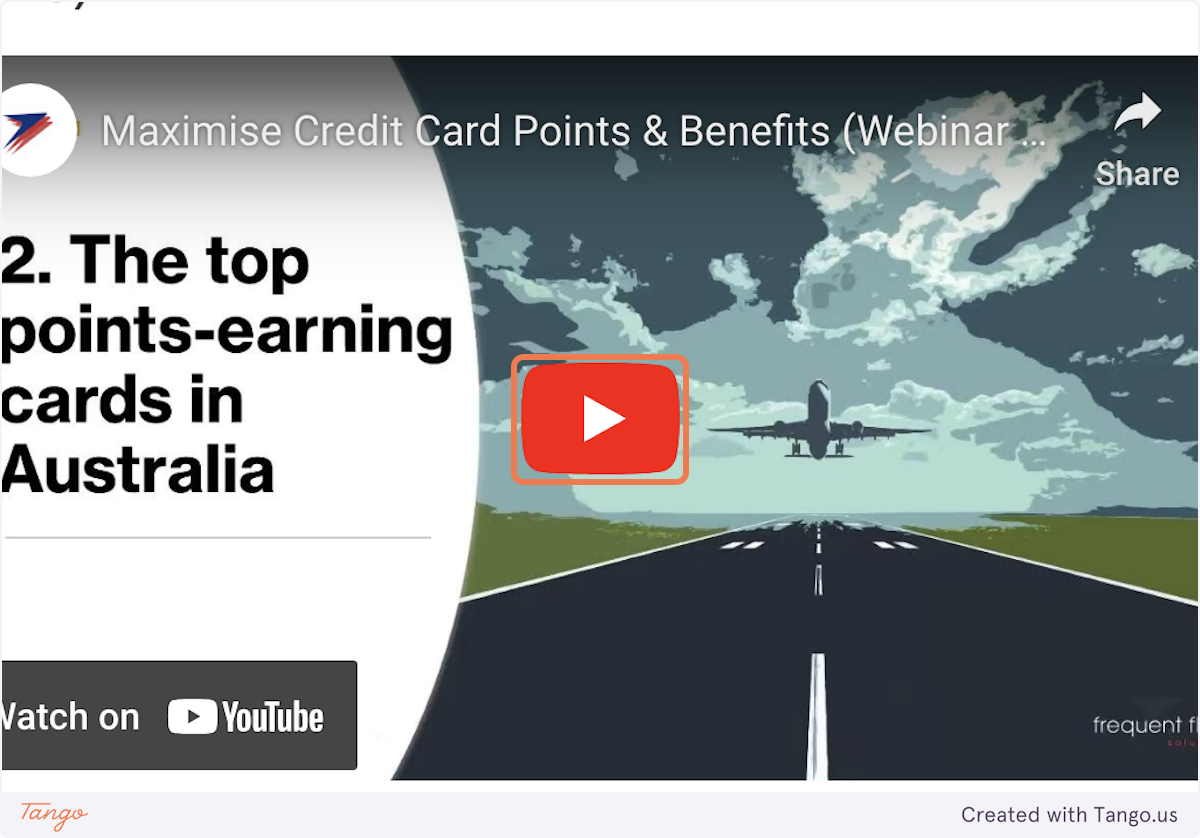
5. Click on Play
- Go to the AFF Member Lounge
2. Click on Get your discount
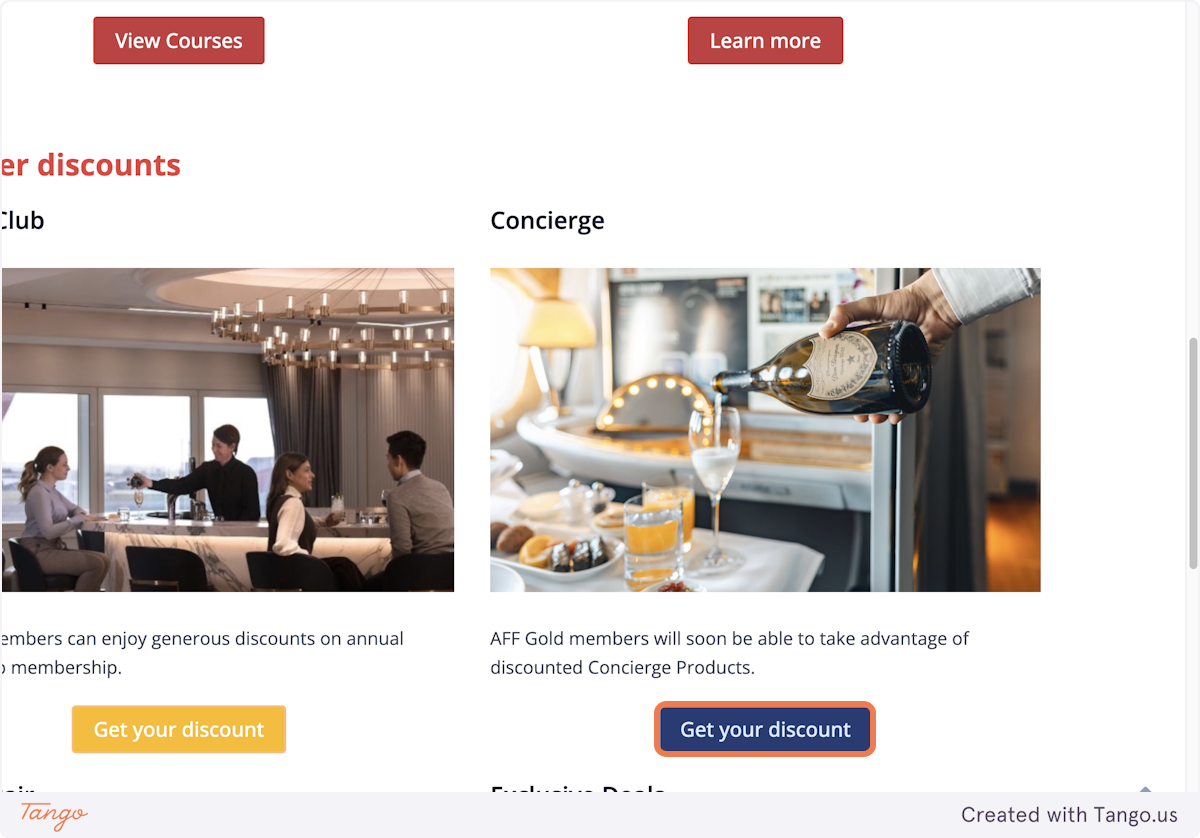
You can claim your discount at any time during the Concierge process, just notify your concierge agent and they will apply it at the payment point.
1. Go to the AFF Member Lounge
2. Click on Get your discount
You will receive an email with your personal discount code to be used at the payment screen.
1. Go to the AFF Member Lounge
2. Click on Get your discount
If you wish to provide feedback, have a question or encounter an issue that is not answered by our FAQs above, please contact us.
Search our Guides and How-to Articles
Examples: Qantas Points, Virgin status runs, Qantas status runs
[faq_search_form]
Articles
We offer thousands of guides and articles about many different topics. As a starting point, we recommend viewing our:
Webinars and Courses
Learn more with our training courses and webinars, available exclusively to AFF members. The first two training courses are free for all members.